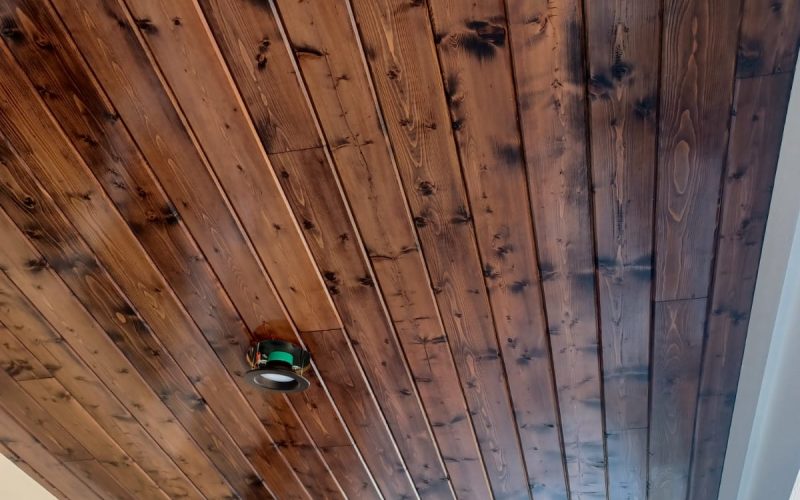
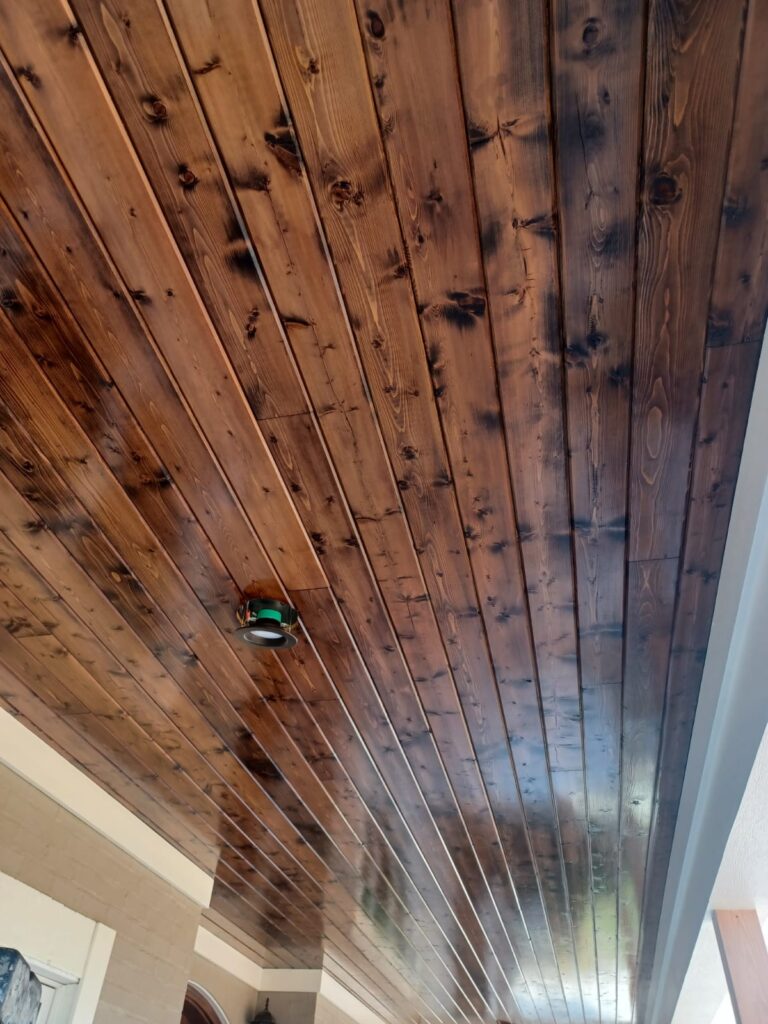
Few exterior details make a home feel as warm and intentional as a stained wood porch ceiling. Whether it’s tongue-and-groove pine, cedar planks, or shiplap, a richly stained wood ceiling transforms an ordinary covered porch into a standout feature that draws the eye and sets the tone for the entire exterior.
At EA Painting LLC, we’ve stained wood ceilings on porches, entryways, and covered outdoor spaces throughout Kodak, TN and the Sevier County area. Here’s everything you need to know — from wood selection and stain colors to prep, application, and long-term care.
Why Wood Porch Ceilings Are So Popular in Tennessee
Tennessee homeowners have a long appreciation for natural wood in their homes, and porch ceilings are one of the most impactful places to showcase it.
- Tongue-and-groove wood ceilings add immediate warmth and texture that painted drywall simply can’t replicate
- The natural grain and knot patterns in pine and cedar create a one-of-a-kind look in every installation
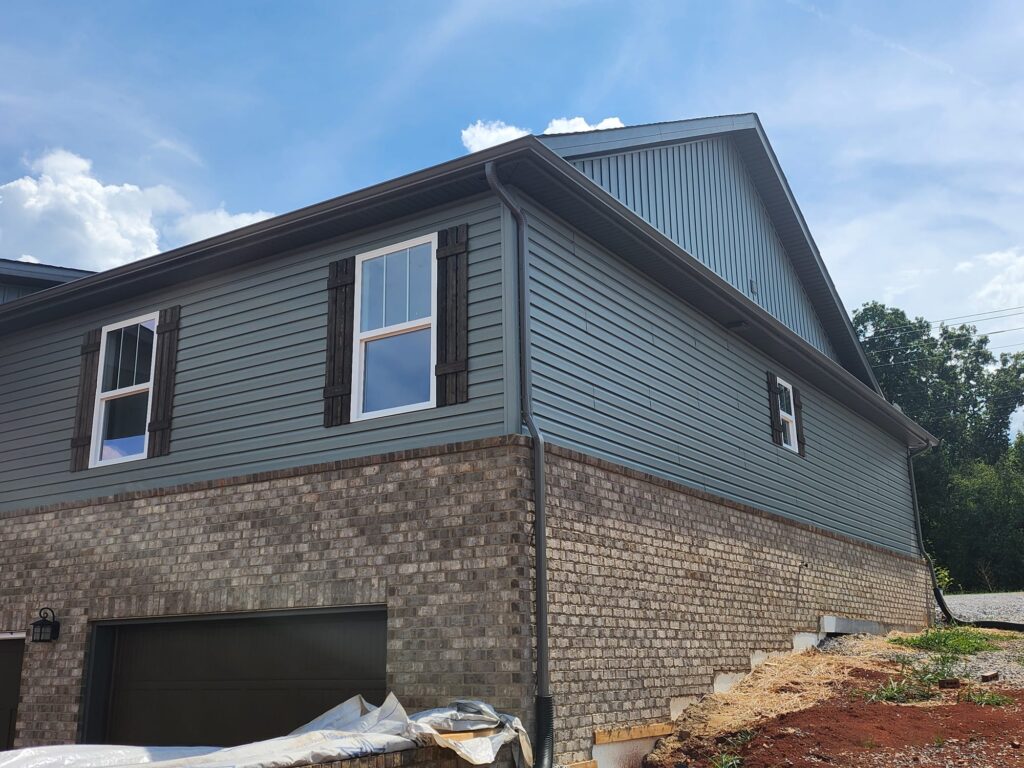
- A stained wood ceiling pairs beautifully with exposed beams, stained doors, and stone or brick exteriors — all common features in East Tennessee homes
- Wood ceilings hold up well in covered outdoor spaces when properly stained and sealed
- The rustic, cabin-inspired character of a dark-stained wood ceiling fits naturally with Tennessee’s mountain and countryside aesthetic
Choosing the Right Stain Color for Your Porch Ceiling
Stain color sets the entire mood of the space — and the right choice depends on your home’s exterior palette and the look you’re going for.
- Dark walnut and jacobean — rich, deep browns that highlight natural wood grain beautifully; ideal for homes with warm brick, stone, or earthy exteriors
- Early American and golden oak — warmer, lighter tones that keep the space feeling bright and open; great for porches that don’t receive much natural light
- Classic gray and weathered wood tones — increasingly popular for modern farmhouse and coastal-influenced homes; pairs well with white or light gray exteriors
- Natural and clear finishes — let the raw wood speak for itself; best for high-quality cedar or pine with exceptional grain patterns
- Always test stain samples on a scrap piece of the same wood species before committing — stain color varies significantly depending on the wood it’s applied to
Prep Work: The Most Important Step
Like any staining project, the prep work determines how good the finished product looks and how long it lasts — especially on an outdoor ceiling exposed to Tennessee’s humidity and temperature swings.
- Sand all wood surfaces before staining — start with 80 grit to remove any mill glaze or rough spots, finish with 120 grit for a smooth, even surface
- Wipe away all sanding dust with a tack cloth before applying any product — dust trapped under stain creates a grainy, uneven finish
- For new wood, allow adequate drying time — freshly milled or pressure-treated lumber needs to dry completely before staining, sometimes 30–60 days
- Fill any gaps, cracks, or nail holes with a stainable wood filler and sand flush once dry
- Apply painter’s tape and drop cloths to protect surrounding surfaces — stain drips and runs on exterior walls or columns are difficult to remove
Application Tips for a Professional Finish
Staining a ceiling is more physically demanding than staining a wall — and technique matters significantly for an even, streak-free result.
- Work in manageable sections, following the length of each board rather than cutting across the grain
- Apply stain with a brush for better penetration into the wood grain, or use a pad applicator for faster coverage on smooth surfaces
- Wipe away excess stain with a clean rag within 5–10 minutes of application — leaving stain on too long causes blotching and uneven color
- Work board by board to maintain a wet edge and avoid lap marks where sections overlap
- Apply a second coat once the first is fully dry if deeper color or richer tone is desired — always test on a hidden area first
Sealing and Long-Term Protection
Stain alone may not be enough for a porch ceiling that faces humidity, temperature changes, and occasional moisture exposure. A topcoat sealer significantly extends the life of the finish.
- Apply a clear exterior-grade polyurethane or spar urethane over the stain once fully cured — spar urethane is specifically formulated for outdoor wood and offers superior UV and moisture resistance
- A satin or semi-gloss finish is ideal for porch ceilings — it adds a subtle sheen that enhances the wood grain without looking overly glossy
- Inspect the ceiling annually for signs of wear, graying, or moisture penetration and recoat as needed — typically every 2–4 years depending on exposure
- Keep gutters and roof drainage functioning properly to prevent water from reaching the ceiling surface
Trust EA Painting LLC With Your Wood Ceiling Project
Staining a porch ceiling requires patience, the right products, and experience working overhead on detailed wood surfaces. At EA Painting LLC, we handle every step — from prep and sanding to stain application and sealing — so your finished ceiling looks exactly the way you envisioned it.
Serving Kodak, TN and a 50-mile radius including Sevierville, Gatlinburg, Pigeon Forge, Newport, and Morristown, our team brings over 17 years of experience to every wood staining and finishing project we take on.
Ready to add a stunning stained wood ceiling to your porch? Contact EA Painting LLC today for a free estimate.
📞 (865) 203-8145 | (865) 314-2926
✉ info@eapaintingllctn.com
🌐 www.eapaintingllctn.com/contact-us/